How To Make Brazil Nut Milk
Brazil nut milk is a non dairy milk I like to make quite often. It’s because brazil nuts have a creamy, smooth and almost cheesy taste. They lend very well to being turned into a creamy, delicious non dairy milk. Because Brazil nuts can be on the higher price side I will often make almond or walnut milk and save brazil nut milk for certain recipes. Those recipes would be baked macaroni and cheese, custard type pies like sweet potato or pumpkin.
Making brazil nut milk is extremely easy. And I have a great simple nut milk recipe below to follow to make your own brazil nut milk. But first lets go over what brazil nuts are and the benefits of eating this nut or should I say drinking this nut. 🙂
What are Brazil nuts?
The Brazil nut tree is native to various regions in South America such as Brazil, Venezuela, the Guianas and Bolivia. Brazil nuts are actually the seeds of the fruit grown off the Brazil nut tree. The fruit takes 14 months to mature and resembles a coconut. Inside the fruit there’s normally 8 to 24 wedged seeds which we know to be as brazil nuts.
Brazil nuts are harvested between the months of December and June. During this time the fruit of the Brazil nut tree ripens and falls from the trees. The seeds (Brazil nuts) are extracted, dried and then washed, all the while with their hard shell intact. They are brought to the market still shelled or sent to go through the processing of having the hard shells removed.
What are the benefits of eating Brazil nuts?
Brazil nuts have lots of nutritious values. Per 1 ounce of brazil nuts, the following nutrients are:
- Protein 4.1 grams
- Fat 19 grams
- Carbs 3.3 grams
- Fiber 2.1 grams (*most of the fiber will be removed during consuming brazil nut milk, most of the fiber is in the pulp)
- Copper 55% Reference Daily Intake
- Selenium 988% Reference Daily Intake
- Vitamin E 11% Reference Daily Intake
- Zinc 10.5% of the Reference Daily Intake
- Magnesium 33% of the Daily Requirements
- Phosphorus 30% of the Daily Requirements
- Manganese 33% of the Daily Requirements
- Thiamine 16% of Reference Daily Intake
Because brazil nuts are rich in selenium they are very beneficial for building up the immune system. Selenium is also great for the thyroid glands and for cell growth. And Brazil nuts are high in antioxidants which makes them great for reducing inflammation.
How to make Brazil nut milk
Making Brazil nut milk is very easy! It’s a milk I like to use when I make baked mac and cheese, creamy soups or pies like pumpkin or sweet potato. I find that Brazil nut milk is so creamy and almost buttery so it works nicely in these recipes.
After making the nut milk, you will be left with nut pulp. Save this pulp to add a little to cookie batter, pancake batter or brownie batter. If you have a dehydrator you can dry out the pulp and use it to sprinkle over pasta like you would parmesan cheese. Stay tuned for future blog posts to see a couple of ways of how I use my nut pulp.
Brazil Nut Milk
This is a super easy recipe on how to make Brazil nut milk. Brazil nut milk is a great substitution for dairy milk, especially when making dishes which cause for a creaminess that almond milk just doesn't give.

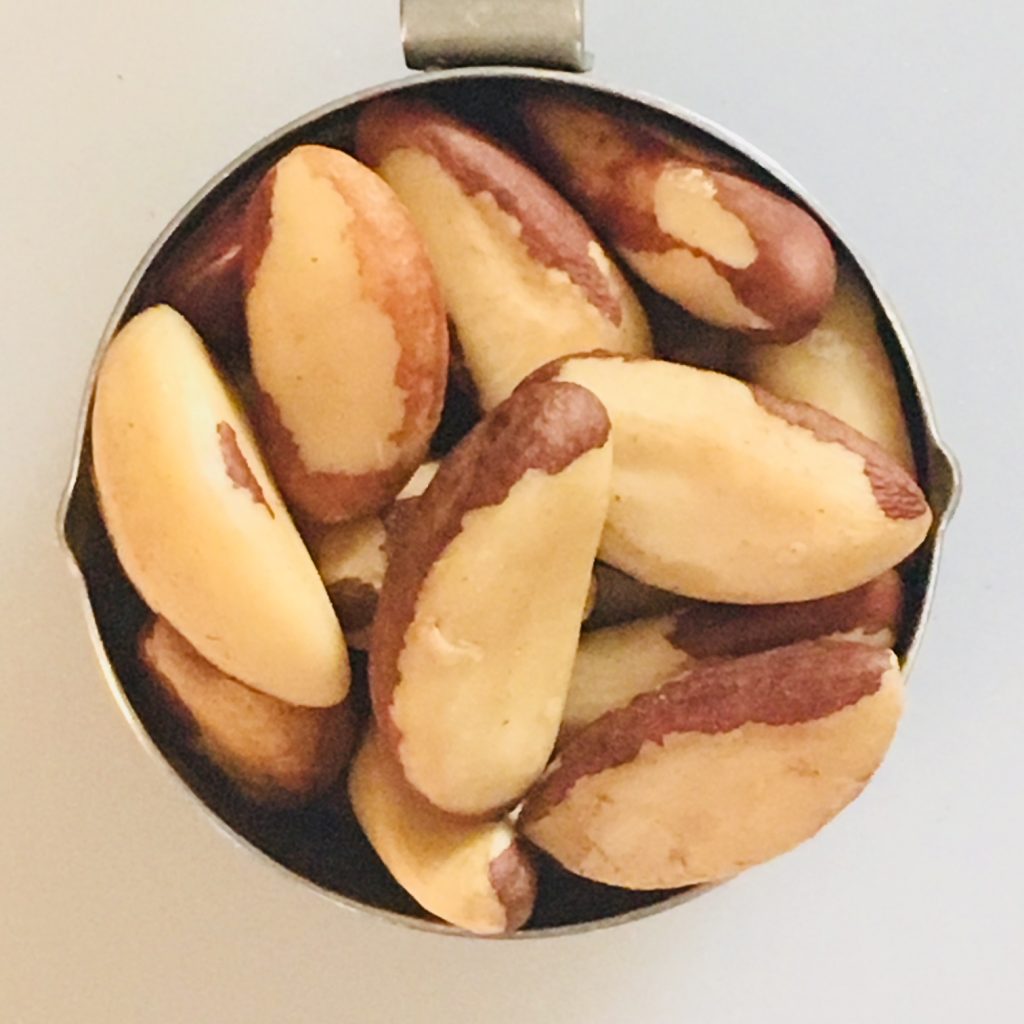
Place Brazil nuts in a heat proof bowl. Heat filtered water till boiling and pour over the brazil nuts. Place some plastic wrap over the bowl and let the nuts soak overnight.
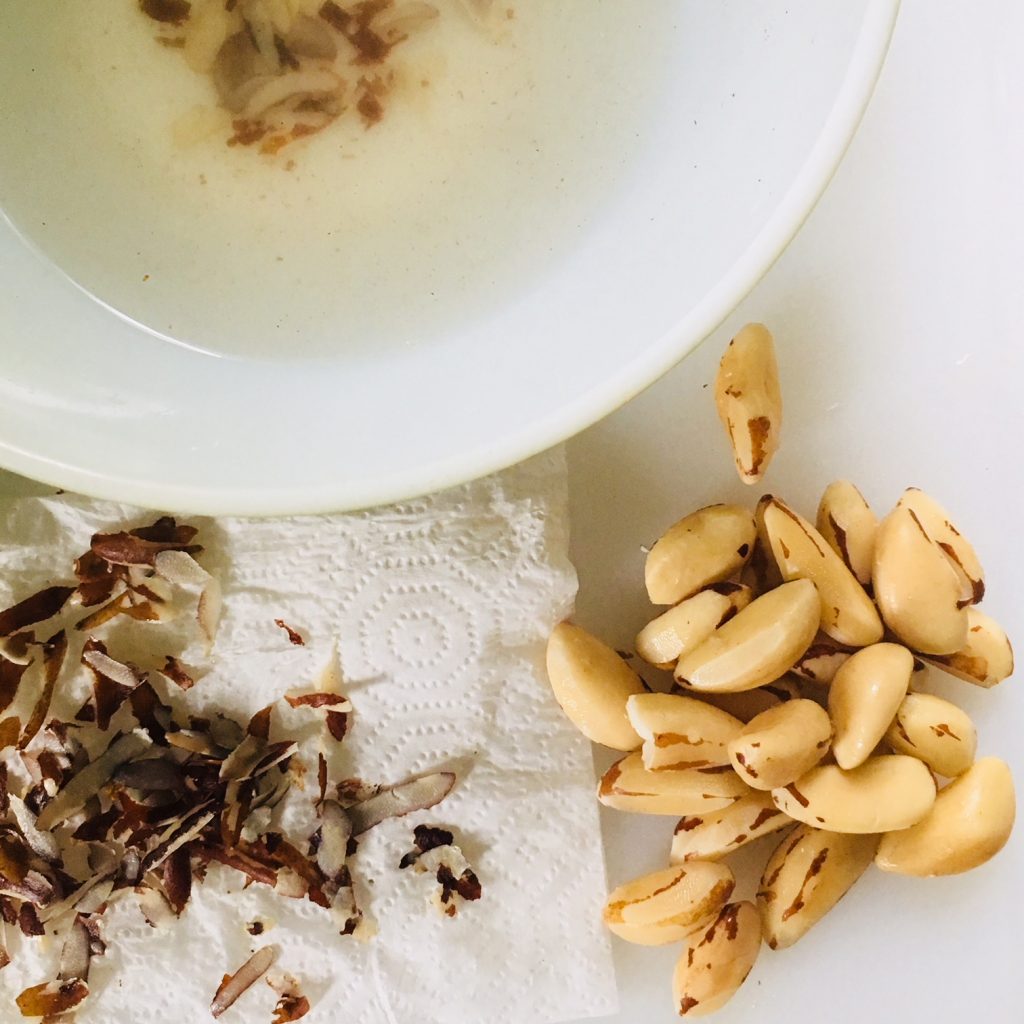
The next day you will notice some pieces of the brazil nut skin floating in the water, which is good. Drain the nuts from the water.
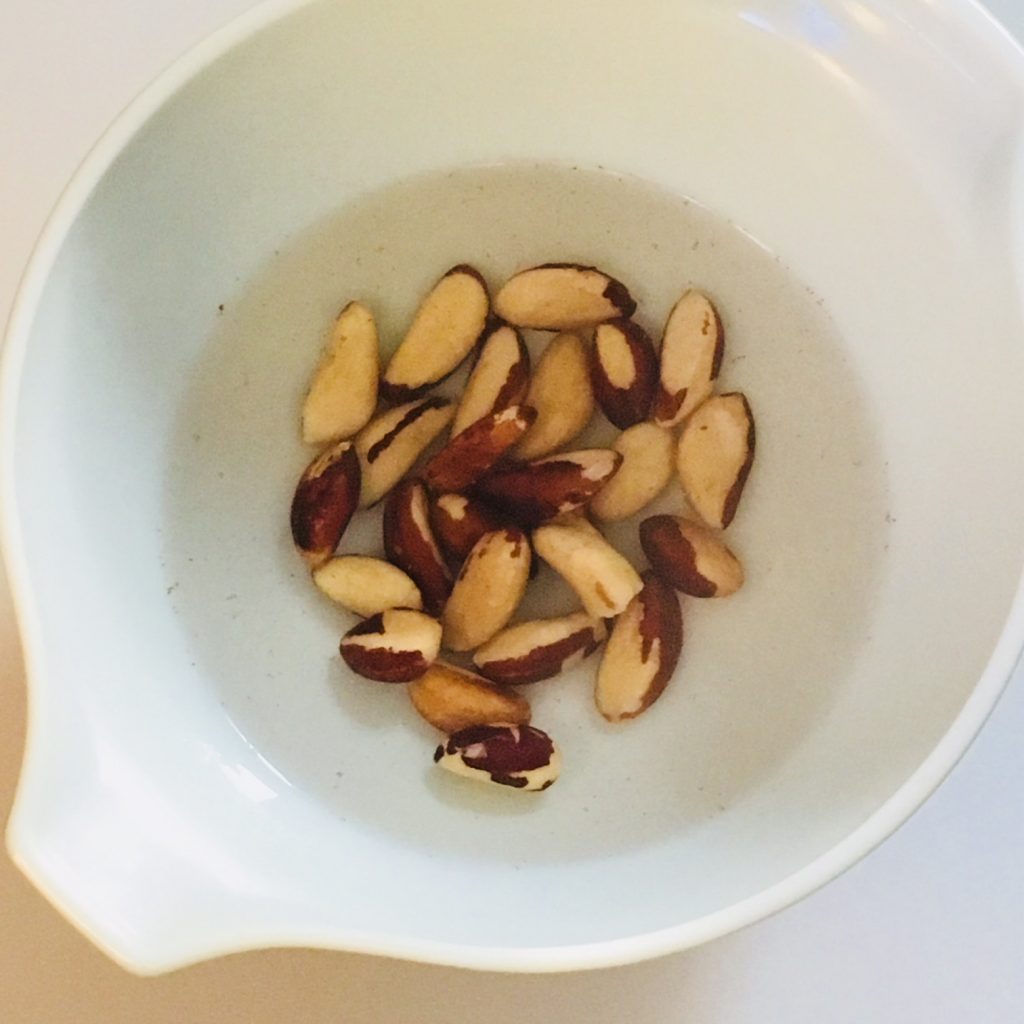
Now to remove the outer layer skin of the brazil nuts.
You can skip this step if you want. However I feel taking off most of the brazil nut skin produces a better tasting nut milk and it really doesn't take that long to scrap off.
Here's a tip: I press lightly with a potato peeler to remove the skin being careful not to remove any nut. And sometimes I just use my finger nail.
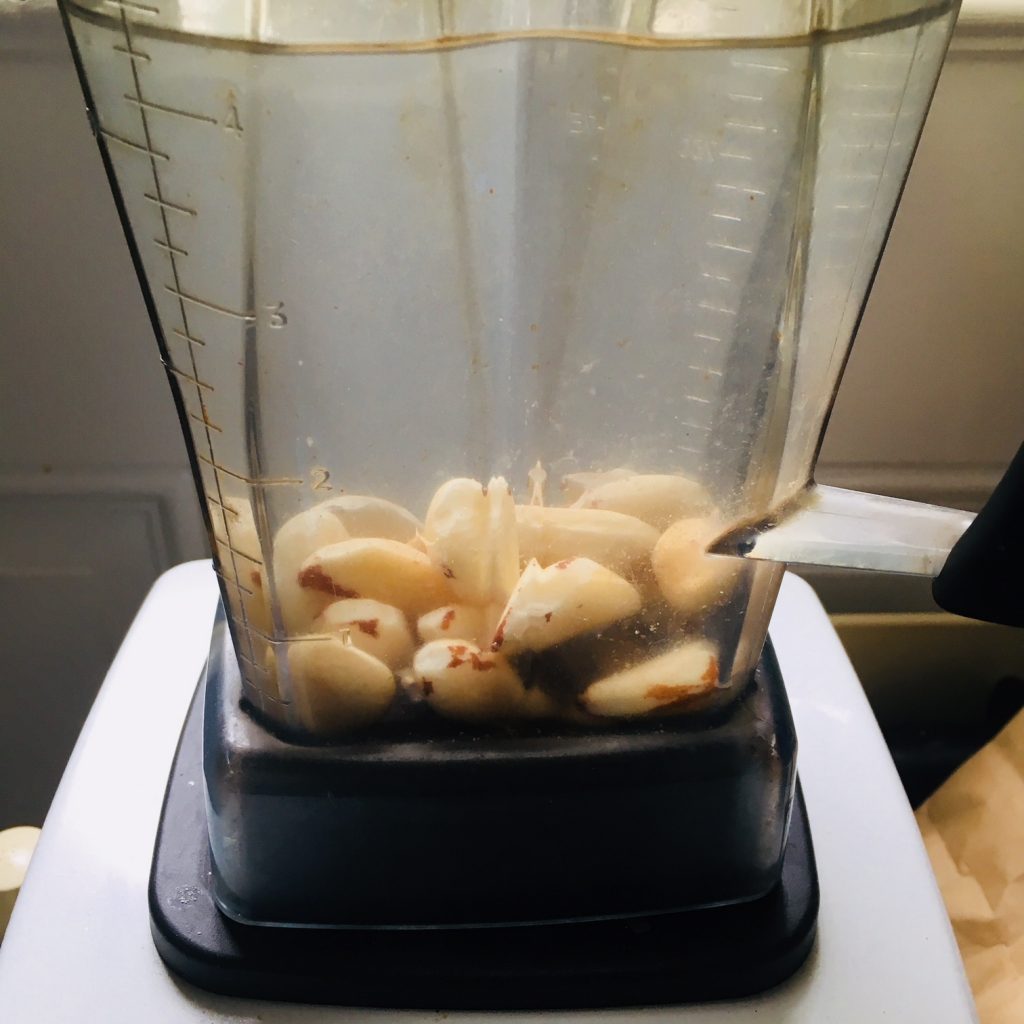
Put the nuts in a blender with 4 cups of filtered water.
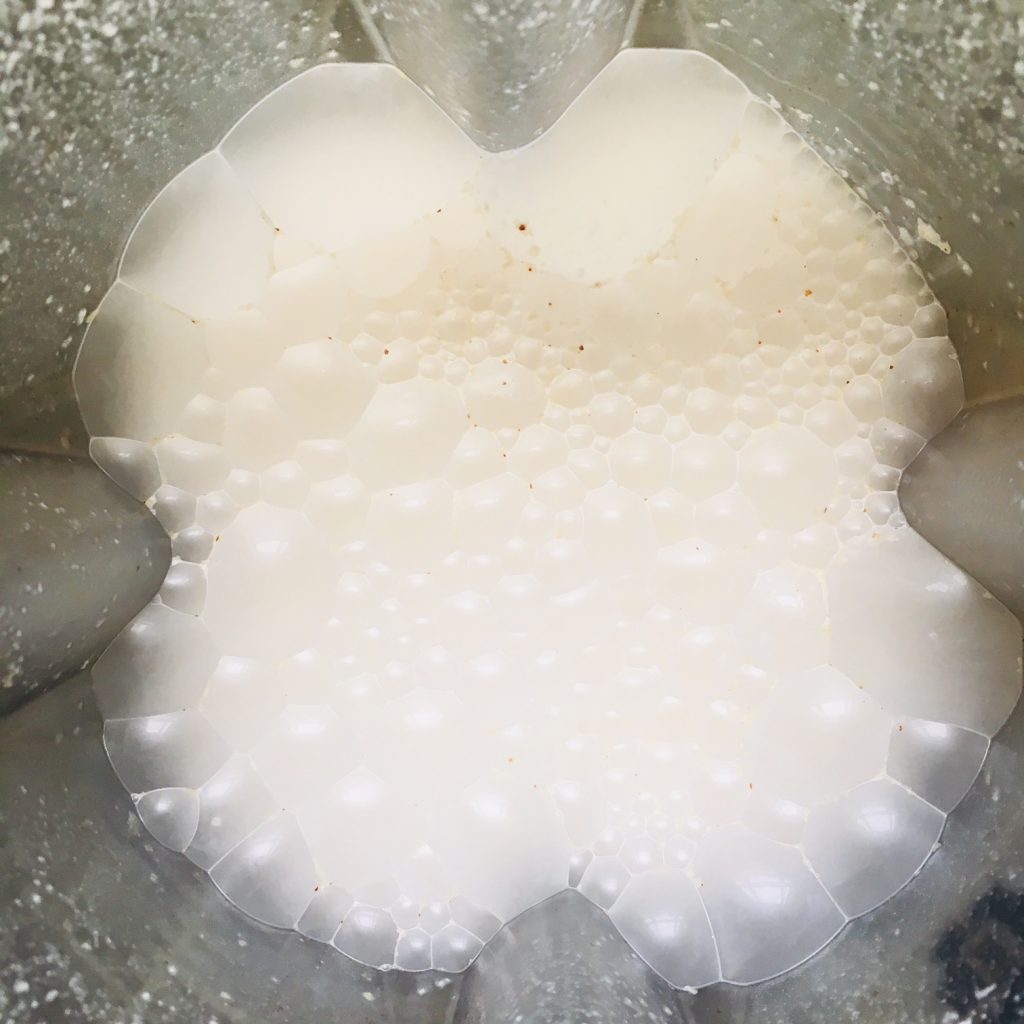
Blend for a couple of minutes till you get a frothy mixture.
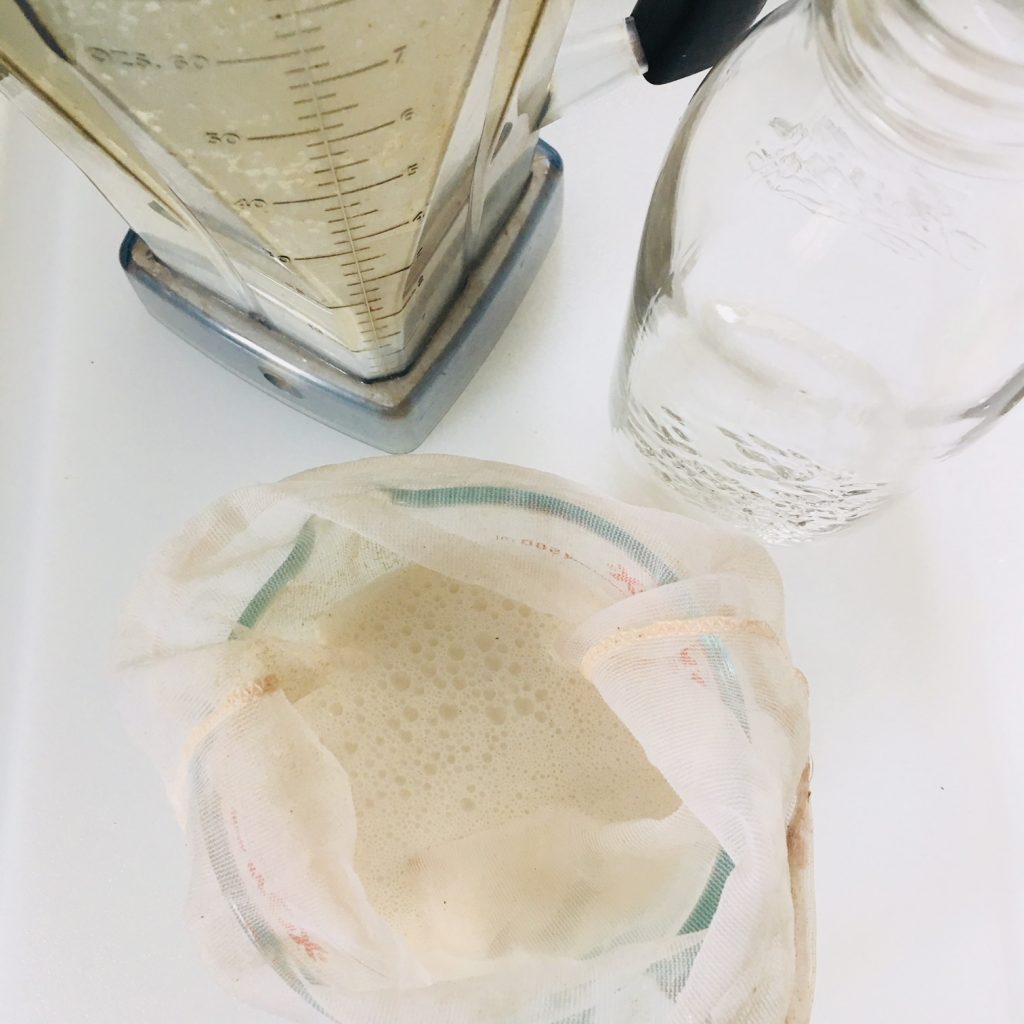
Make sure you have a nut bag, liquid measuring cup and a glass beverage container ready.
Strain the nut milk using a nut bag or cheese cloth.
To do this, place a nut bag in a liquid measuring cup. Then pour a cup of nut milk at a time. Squeeze the bag to remove all the milk from the nut pulp. Pour the liquid in the glass beverage container. Empty the nut pulp in a separate container. Repeat this step till all the nut milk is strained.
*I find the straining process easier to do it in a liquid measuring cup because there's a spout to prevent any messes when pouring the nut milk into a container.
The nut pulp can be saved and used to make homemade granola, cookies or a tart crust. Look out for a couple of recipes I'll be sharing soon using nut pulp.
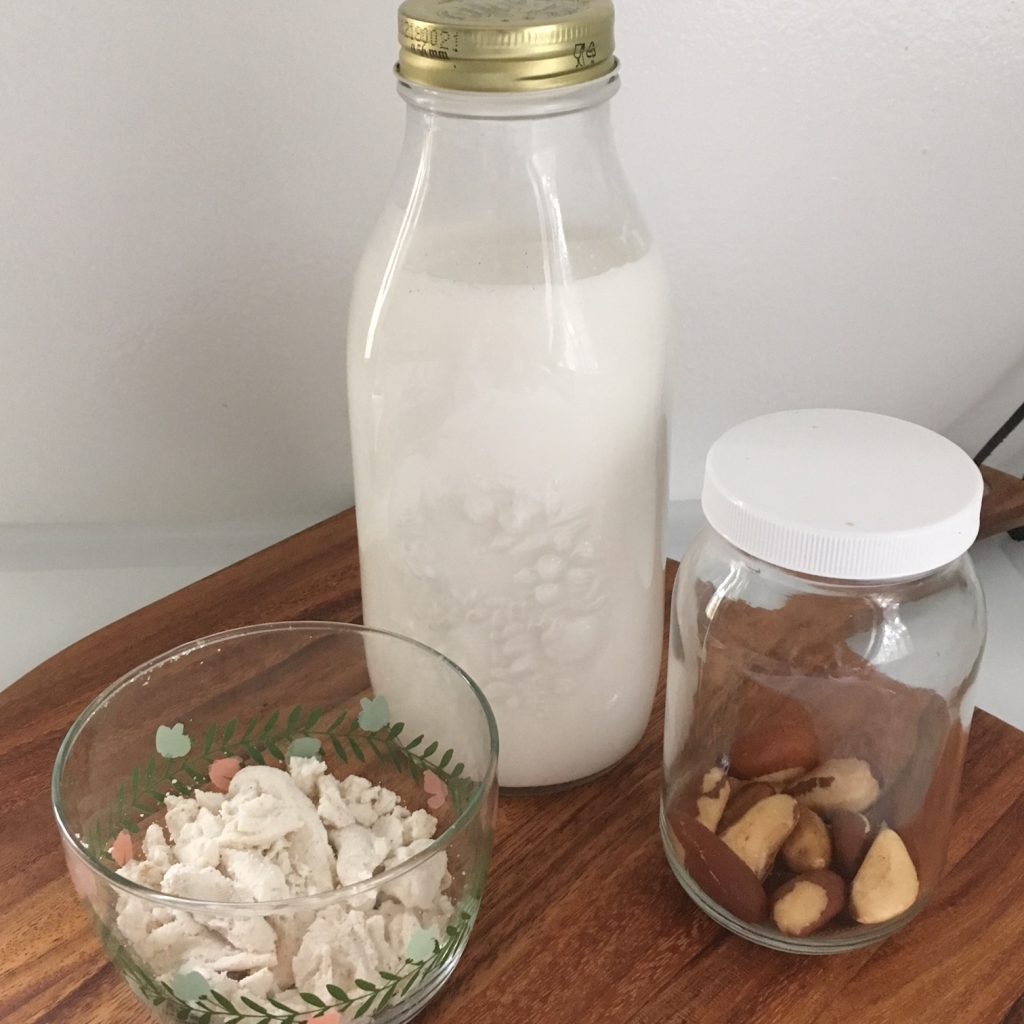
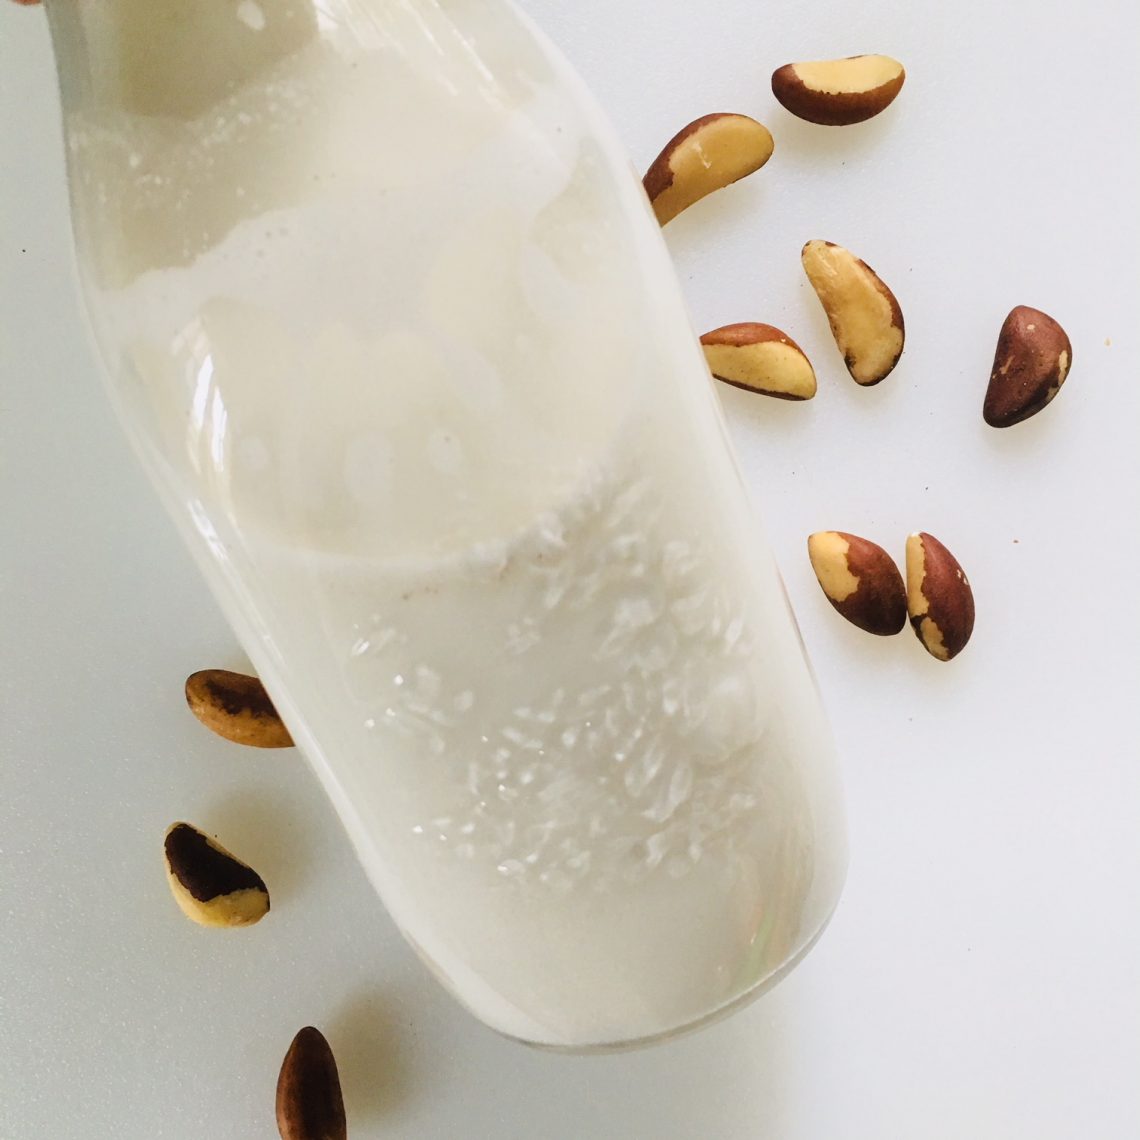
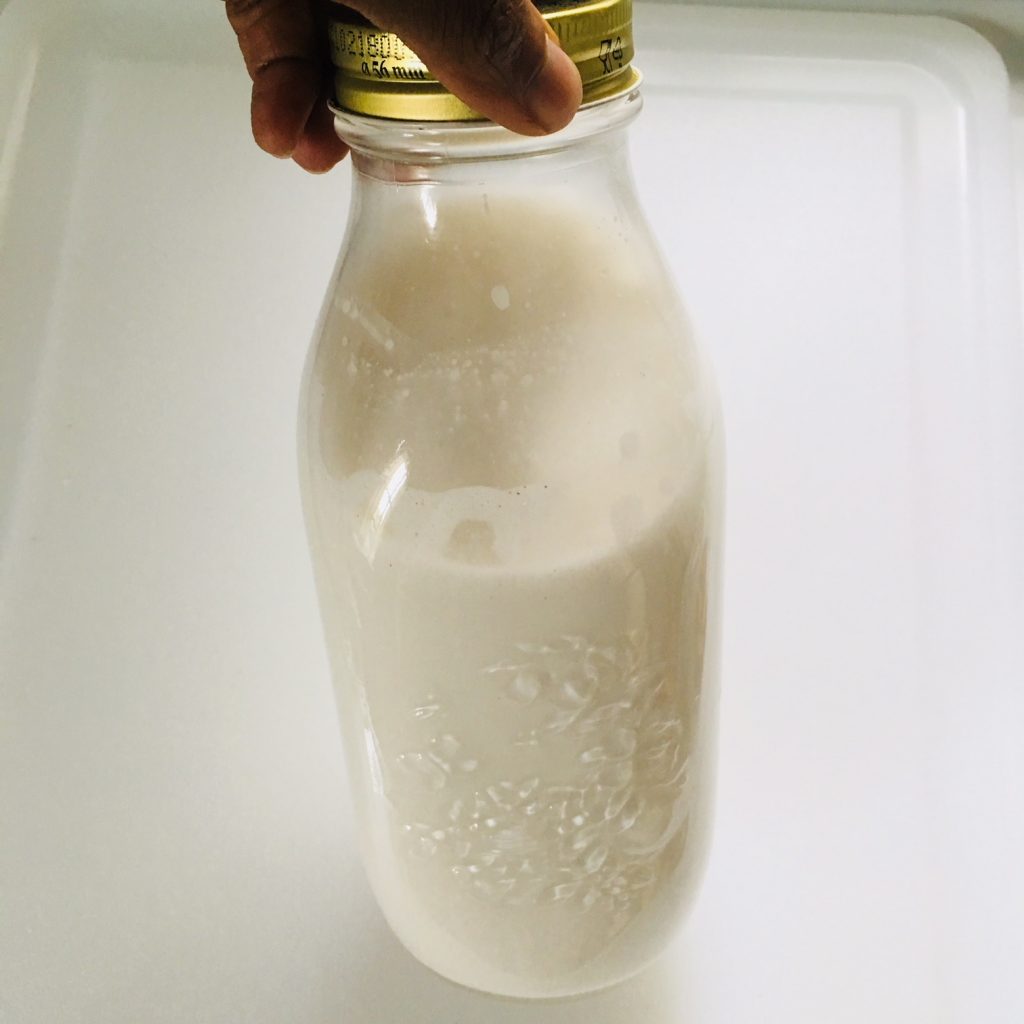
And there you have it....Brazil nut milk!
The nut milk will keep in the refrigerator for about 4 to 5 days. It's important to shake the milk before using due to some separation occurring during storage.
Ingredients
Directions
Place Brazil nuts in a heat proof bowl. Heat filtered water till boiling and pour over the brazil nuts. Place some plastic wrap over the bowl and let the nuts soak overnight.
The next day you will notice some pieces of the brazil nut skin floating in the water, which is good. Drain the nuts from the water.
Now to remove the outer layer skin of the brazil nuts.
You can skip this step if you want. However I feel taking off most of the brazil nut skin produces a better tasting nut milk and it really doesn't take that long to scrap off.
Here's a tip: I press lightly with a potato peeler to remove the skin being careful not to remove any nut. And sometimes I just use my finger nail.
Put the nuts in a blender with 4 cups of filtered water.
Blend for a couple of minutes till you get a frothy mixture.
Make sure you have a nut bag, liquid measuring cup and a glass beverage container ready.
Strain the nut milk using a nut bag or cheese cloth.
To do this, place a nut bag in a liquid measuring cup. Then pour a cup of nut milk at a time. Squeeze the bag to remove all the milk from the nut pulp. Pour the liquid in the glass beverage container. Empty the nut pulp in a separate container. Repeat this step till all the nut milk is strained.
*I find the straining process easier to do it in a liquid measuring cup because there's a spout to prevent any messes when pouring the nut milk into a container.
The nut pulp can be saved and used to make homemade granola, cookies or a tart crust. Look out for a couple of recipes I'll be sharing soon using nut pulp.
And there you have it....Brazil nut milk!
The nut milk will keep in the refrigerator for about 4 to 5 days. It's important to shake the milk before using due to some separation occurring during storage.
References
https://en.wikipedia.org/wiki/Brazil_nut
https://fdc.nal.usda.gov/fdc-app.html#/food-details/170569/nutrients


You May Also Like

The Vegetarian Thanksgiving Day Meal Guide
The Herb Epazote